
Polishing Silver in 8 Simple Steps

Cleaning silver is tedious.
Like most household chores this one isn’t on the top of any lists. Sure there is a certain amount of satisfaction comparing the tarnished to the shiny but the novelty wears off after 5 spoons! But that doesn't mean tarnished silver is allowed - oh no it does not! Like all chores, they need to be done and having a cupboard full of streaky, ill-looking silver won’t fly in my house and shouldn’t in yours either. Set aside an afternoon, get some music playing in the background, get that silver cleaned up and use it.
You don’t need to spend hours buffing and polishing, all you need are a few simple household items, some patience and you are on your way.

What you need
- Aluminum foil
- Baking dish
- 1 cup boiling water
- 1 tablespoon baking soda
- 1 tablespoon sea salt
- 1/2 cup white vinegar
- Cloth for polishing
- Tongs
Line a container with Aluminium foil, I used a large ceramic rectangle baking tray. Bring water to a boil and fill your container.
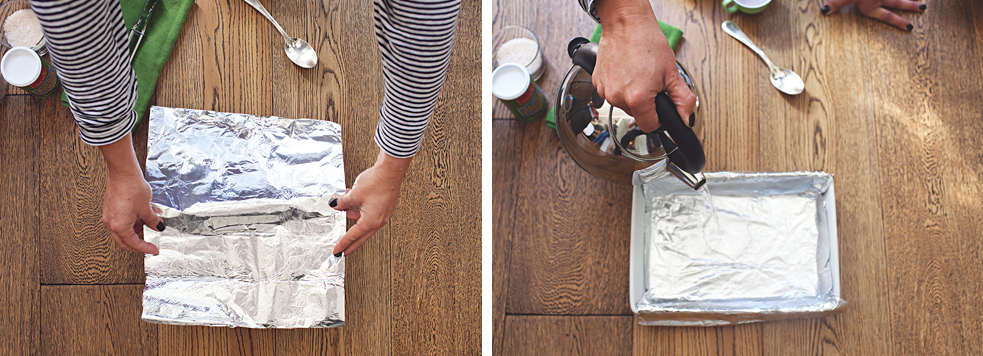
Add the dry ingredients into the container - baking soda, sea salt and slowly pour in the vinegar. You may notice a little bubbling when all ingredients are combined so keep an eye on it. You can clean your silver without adding vinegar, so if you want to skip this ingredient you can. Vinegar just speeds the tarnish removal along and who likes their chores to drag on? No one!

Peice by peice, place your the silver into your pan, making sure each piece is touching the foil but not touching one another. Let them soak for 30 seconds to a minute depending on the amount of tarnish.

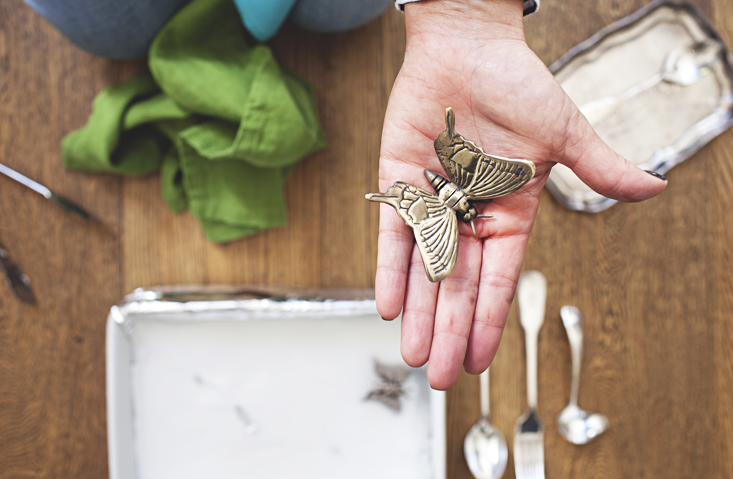
Remove the silverware with tongs (be careful they will be hot) and polish off any tough bits of tarnished silver with a cloth. Can you see your reflection in your silver?

I am going to have to say - this is so addictive! If you have a cupboard or draw of silver, and love to see things shine, set aside an hour and enjoy!
Credits : Photography by Natalie Jeffcott ©Chyka Keebaugh.