Make Your Own Wrapping Paper
I don’t want to blow my own trumpet. But I am pretty good at wrapping gifts!
I take an unusual amount of pleasure in picking the perfect card, matching it to the wrapping then going a little overboard on the decoration. It goes hand in hand with the love of giving (and receiving) gifts. I love making each gift personal and memorable, so making my wrapping paper was the obvious next step. So set yourself up it’s time to get creative!


Fern wrapping
This is perfect for those green thumbs out there! A fun craft to do with kids, get them to collect the leaves and go from there. This can be done with any leaves you find; it's all about covering the wrapping with as many cute shapes as you can. Remember, the more, the better!

What you’ll need...
- Brown Craft Wrapping paper
- Garden Ferns (or leaves)
- coloured paint
- paint palette or bowl
- foam roller
- paint brush


Steps
- Measure the amount of brown craft paper you need for the gift. Blue tack paper to the table, this is going to be your wrapping paper.
- Lay down a piece of scrap paper, place your fern down flat, cover in paint.
- Place your paint covered fern on the wrapping paper and press with the paintbrush, this will transfer a fern image onto your paper.
- Peel the fern away and admire your handy work, repeat! Once you are happy with the coverage, set aside to dry.
- Once your present is wrapped, wrap a matching ribbon around it - attach some leaves as the gift garnish and tie a beautiful bow to add the finishing touch.
You can’t make a mistake when creating this wrapping paper! It's all about getting into a rhythm and covering the paper with painted leaves until you are happy. You can mix it up a little and use multiple shades of green or any colour you choose. It’s fun, a little messy but very effective.


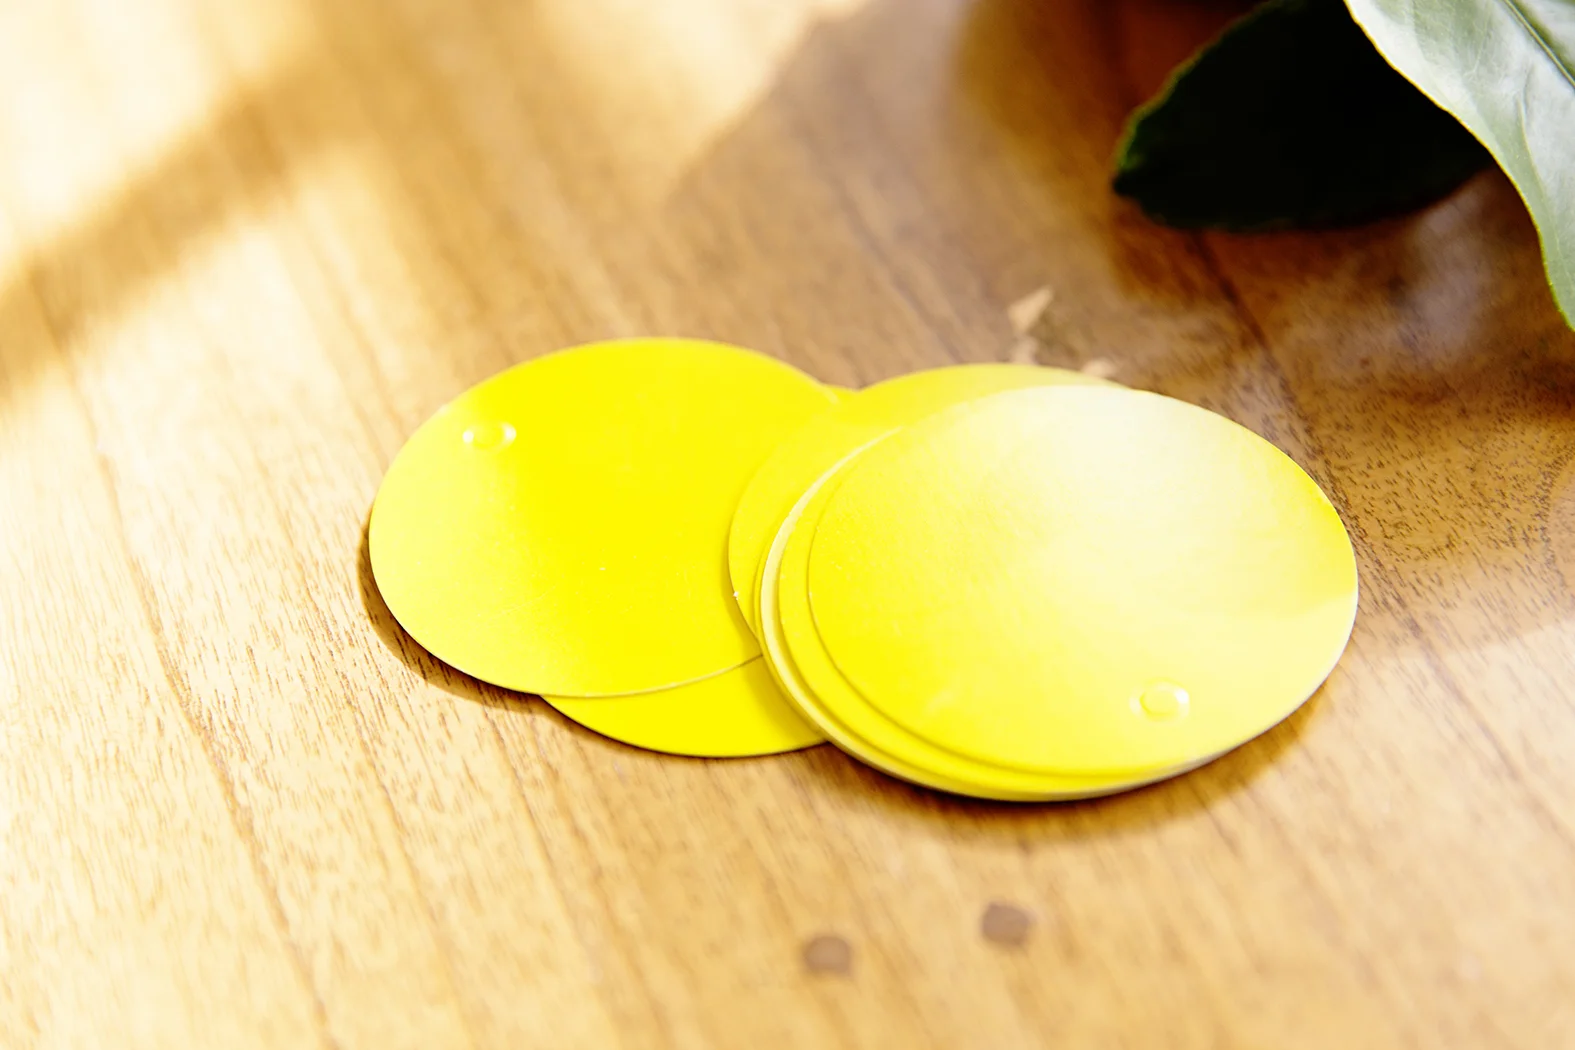
Spot Wrapping
I love this gift wrap idea! Polka dots never date and they are so easy to come by. I bought mine from Officeworks and they will last for a lifetime of wrapping papers! So simple yet so effective.

What you’ll need...
- Brown Craft Wrapping paper
- Coloured Spots on roll x2
- Matching Gift Tag
- Matching Ribbon
- Tape
- Scissors
- Lemons to garnish (optional)


Steps
- Wrap your gift in brown craft paper and wrap it in a ribbon. Now I like to be generous with my ribbon; mine is from Costco - 50m for $8! You can’t pass up that up!
- Grab your dots and cover the box, don’t forget to do all four sides!I like using two sizes to create a point of interest, so let’s fill those gaps.
- I picked up a cute matching circular tag from the two dollar shop, and couldn’t pass up a fresh bundle of lemons to decorate the gift.
- Tie up your ribbon around the branches - and there you have it. A gorgeous gift! If you are not confident in your ribbon skills - buy wired ribbon, it is easy to manipulate into the shape you desire.


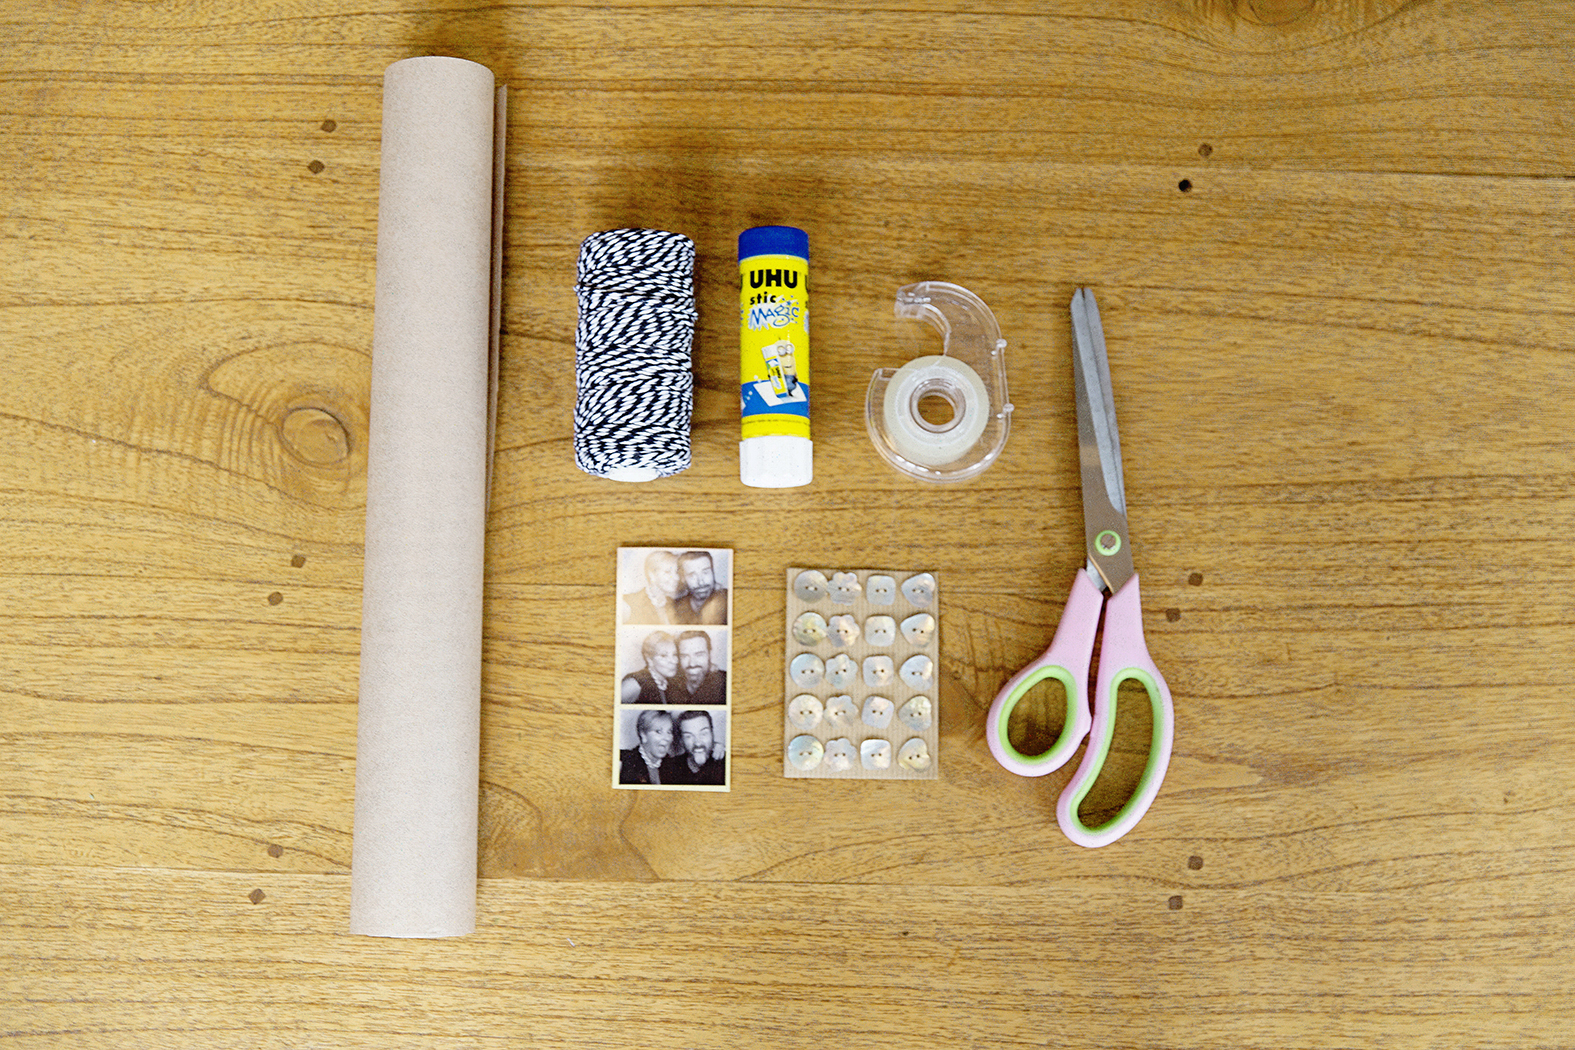
Photo Wrapping
This is the perfect way to use up those odd buttons you have in your home; this styling is ideal for a masculine gift, not too flouncy but very cool.
What you’ll need...
- Brown Craft Wrapping paper
- Twine, any colour you like!
- A personal photo of gift recipient
- Glue stick
- Tape
- Scissors
- Buttons


Steps
- Wrap your gift in brown craft paper and wrap it in twine, (mine is from a two dollar shop). I like to wrap and wrap and wrap the string around like it’s a package ready for delivery!
- Thread your buttons through on the string and tie a knot to keep them attached. Add as many or as few as you like.
- Glue your favourite picture of you and the gift recipient and you are done! Personal, effective and so simple.
Now you have no excuse to not have a beautifully wrapped gift!
Photos: Lisa Atkinson, Copyright © Chyka Keebaugh.