Three Easy Chocolate Desserts!
WORDS : CHYKA KEEBAUGH
PHOTOS : LISA ATKINSON

IF YOU DON’T LIKE CHOCOLATE AS A DIPPING SAUCE, I DO NOT TRUST YOU!
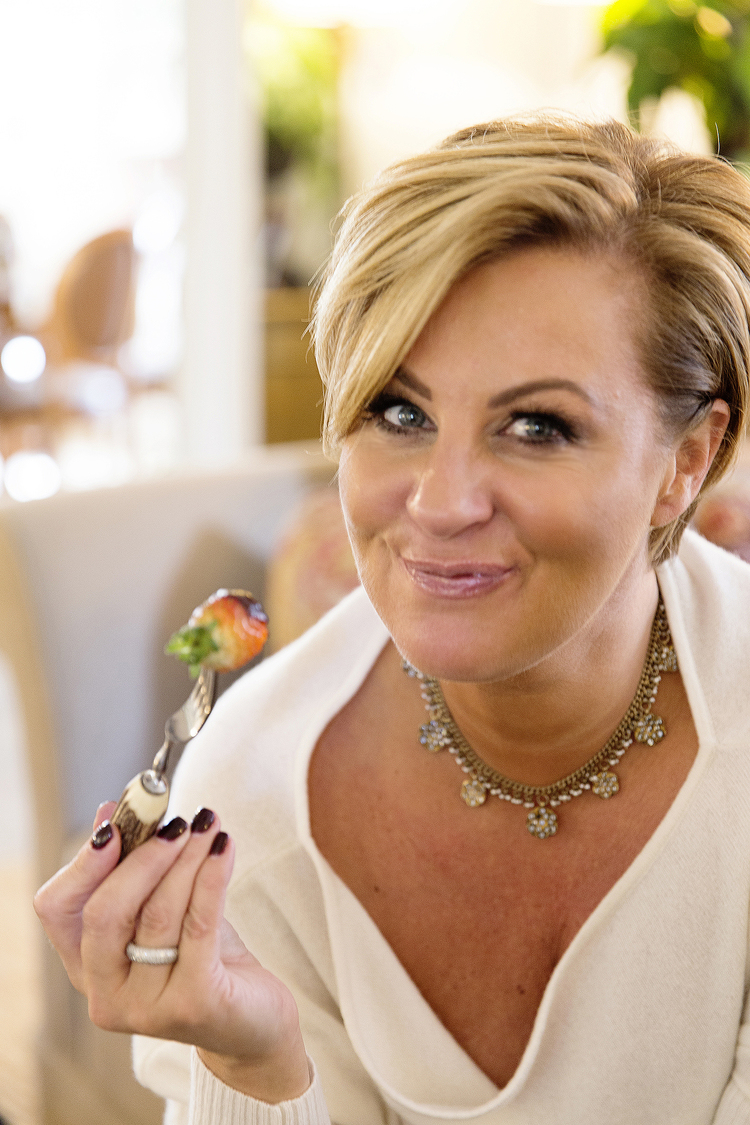
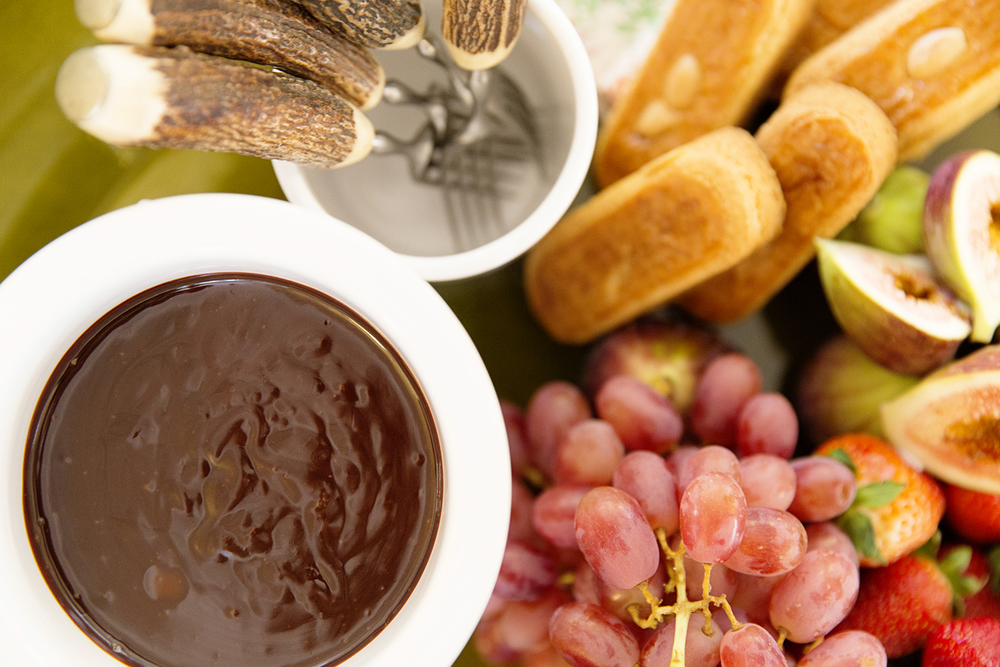
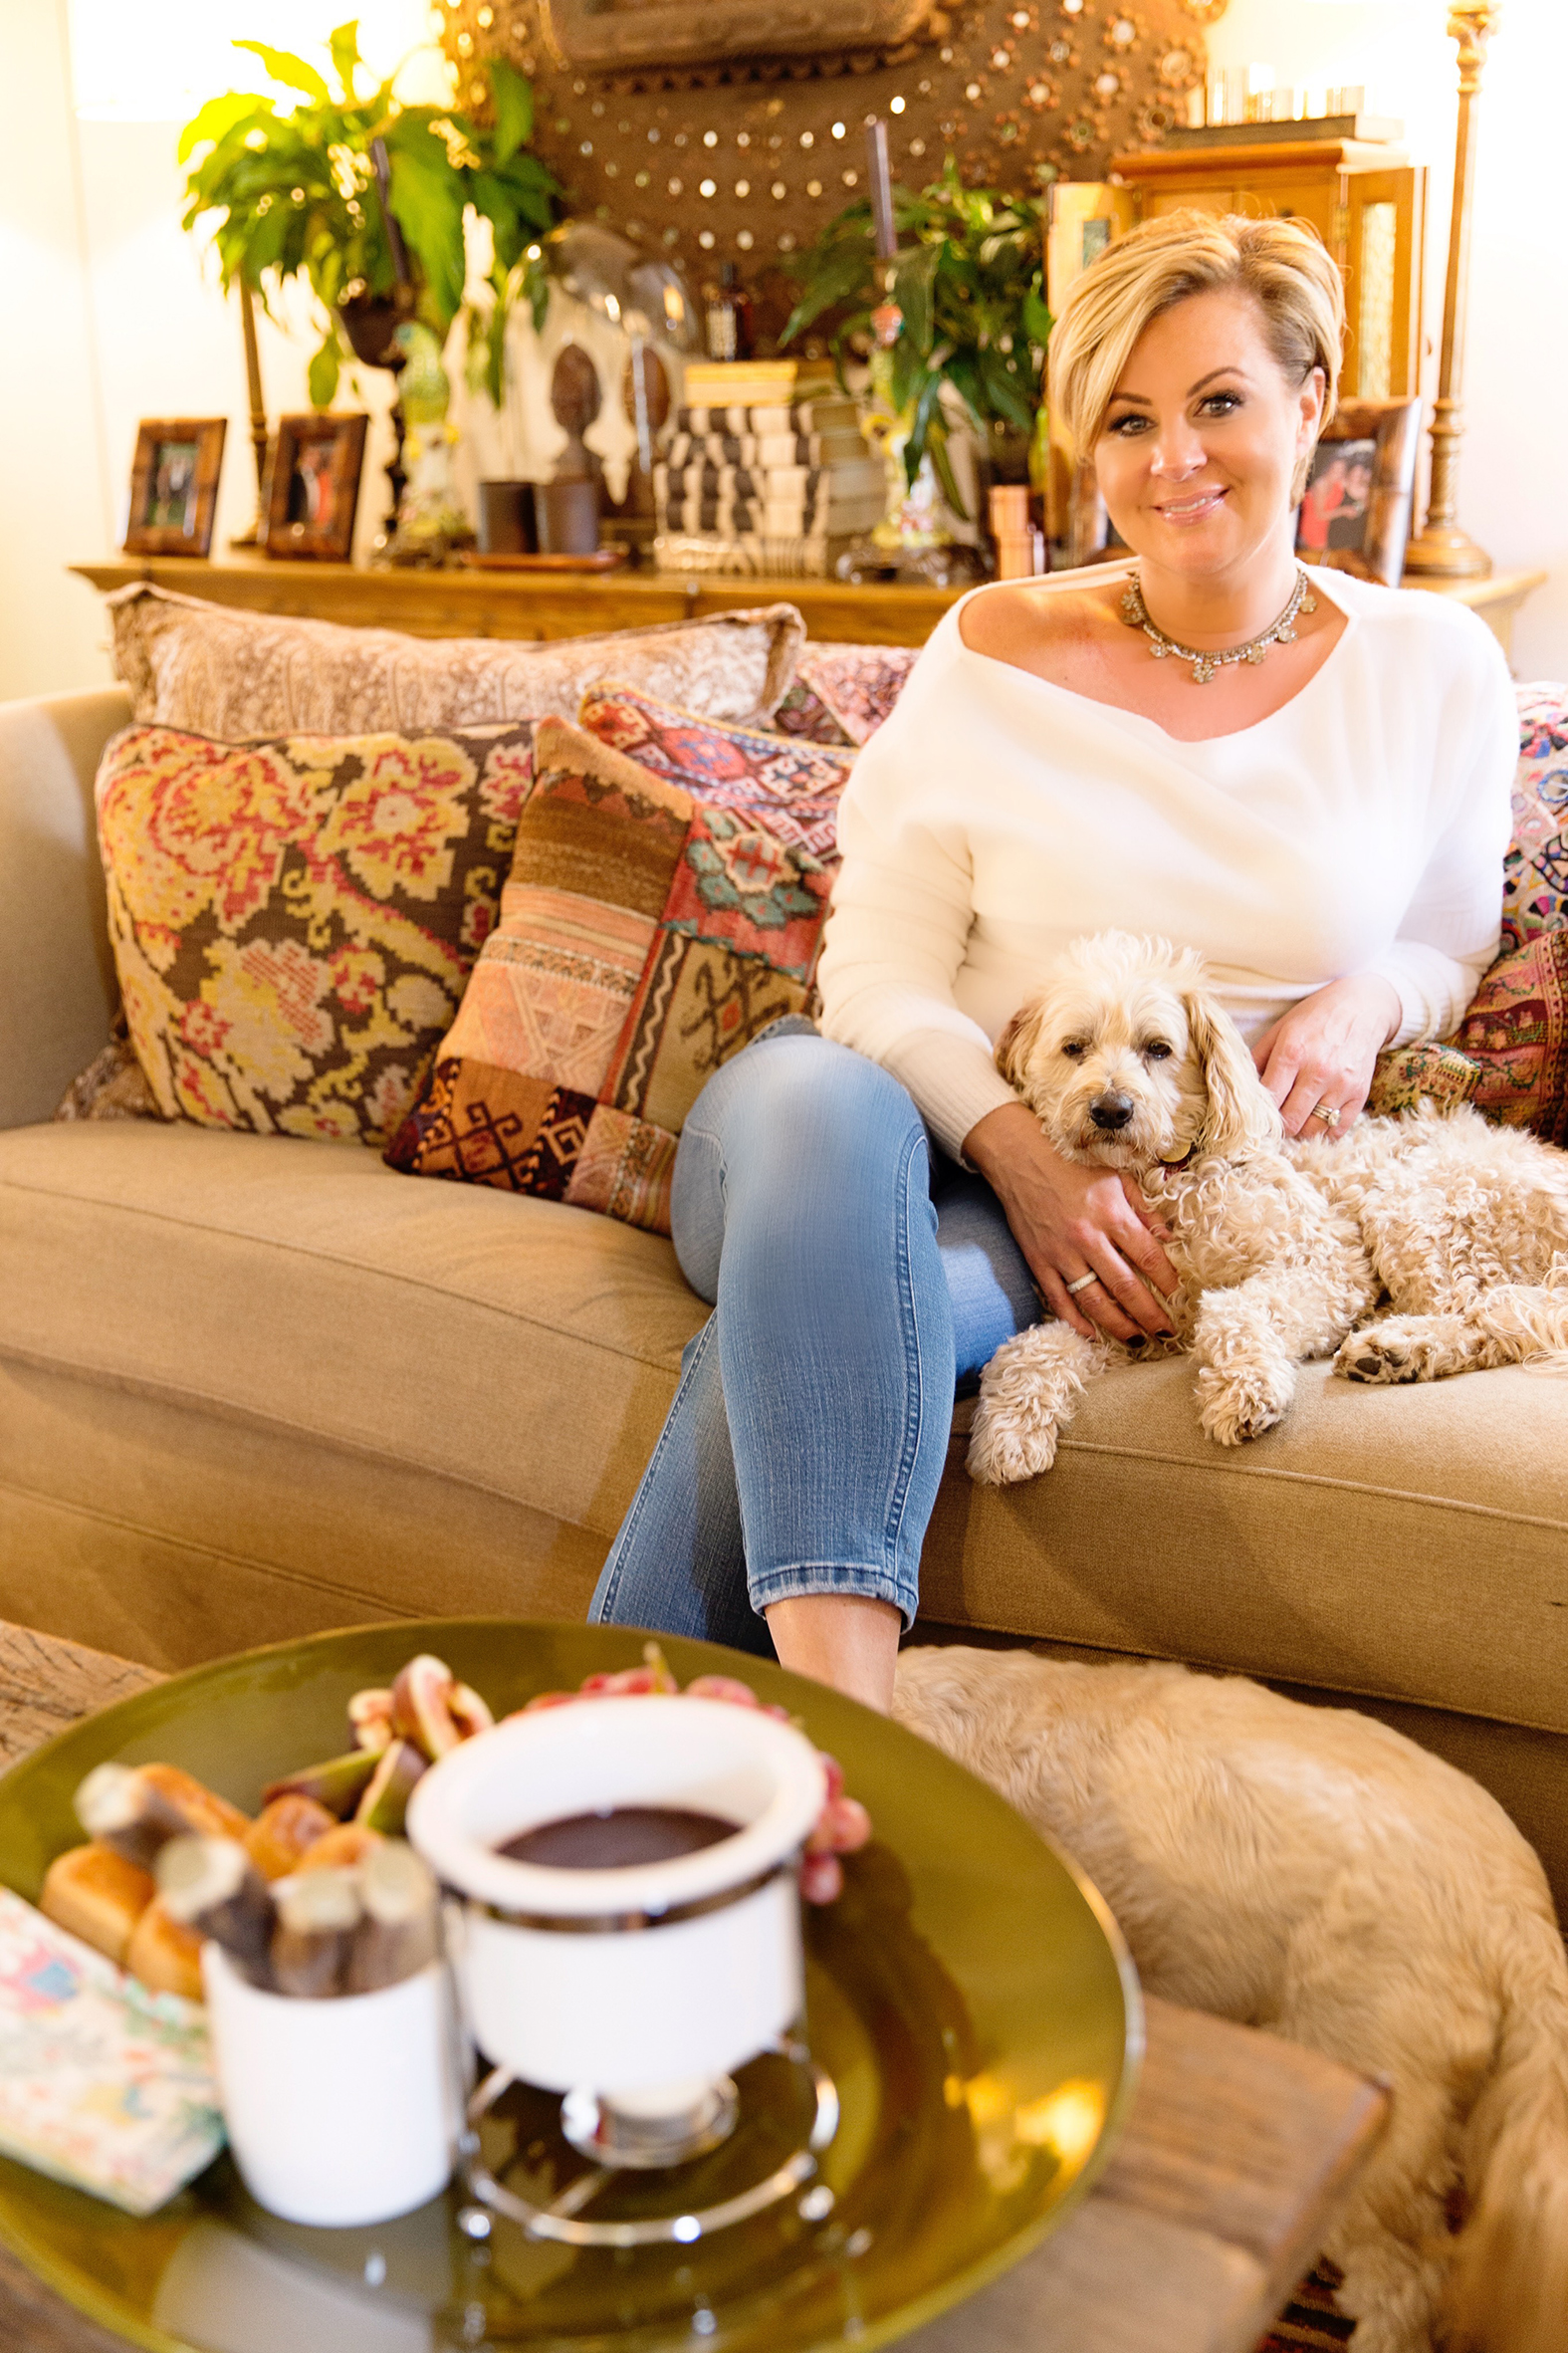
There is nothing more decadent than a tray full of fruits, sweets and cheeses to dip into a gorgeous, oozy chocolate fondue. Nothing at all! Fondues are so simple to make, well melt real! They also look fabulous styled up on a platter, you will impress the fussiest of eaters. I know it’s very 1970’s and probably conjures up some bad memories for some (cheese fondues that film over at the top? no thank you!) but I have tasted the most delicious fondues in my time and I love them. Savoury or sweet, I’m not fussy! Fondues are also the perfect winter dessert because seriously, who doesn’t want to sit in front of a fire and dip strawberries into warm chocolate? No one! All you need is a funky fondue set, which is available at any good food store and you are ready to go!
CHOCOLATE FONDUE
Ingredients
1 x 250g good-quality milk chocolate, finely chopped
80ml (1/3 cup) thickened cream
Four fresh figs, cut in half
Eight large fresh strawberries
125g (3/4 cup) whole macadamia nuts
Method
Place the chocolate and cream in the bowl of a fondue set. Light the burner and stir the chocolate mixture until melted and smooth.
Step 2 Serve chocolate fondue with the figs, strawberries and macadamia nuts.

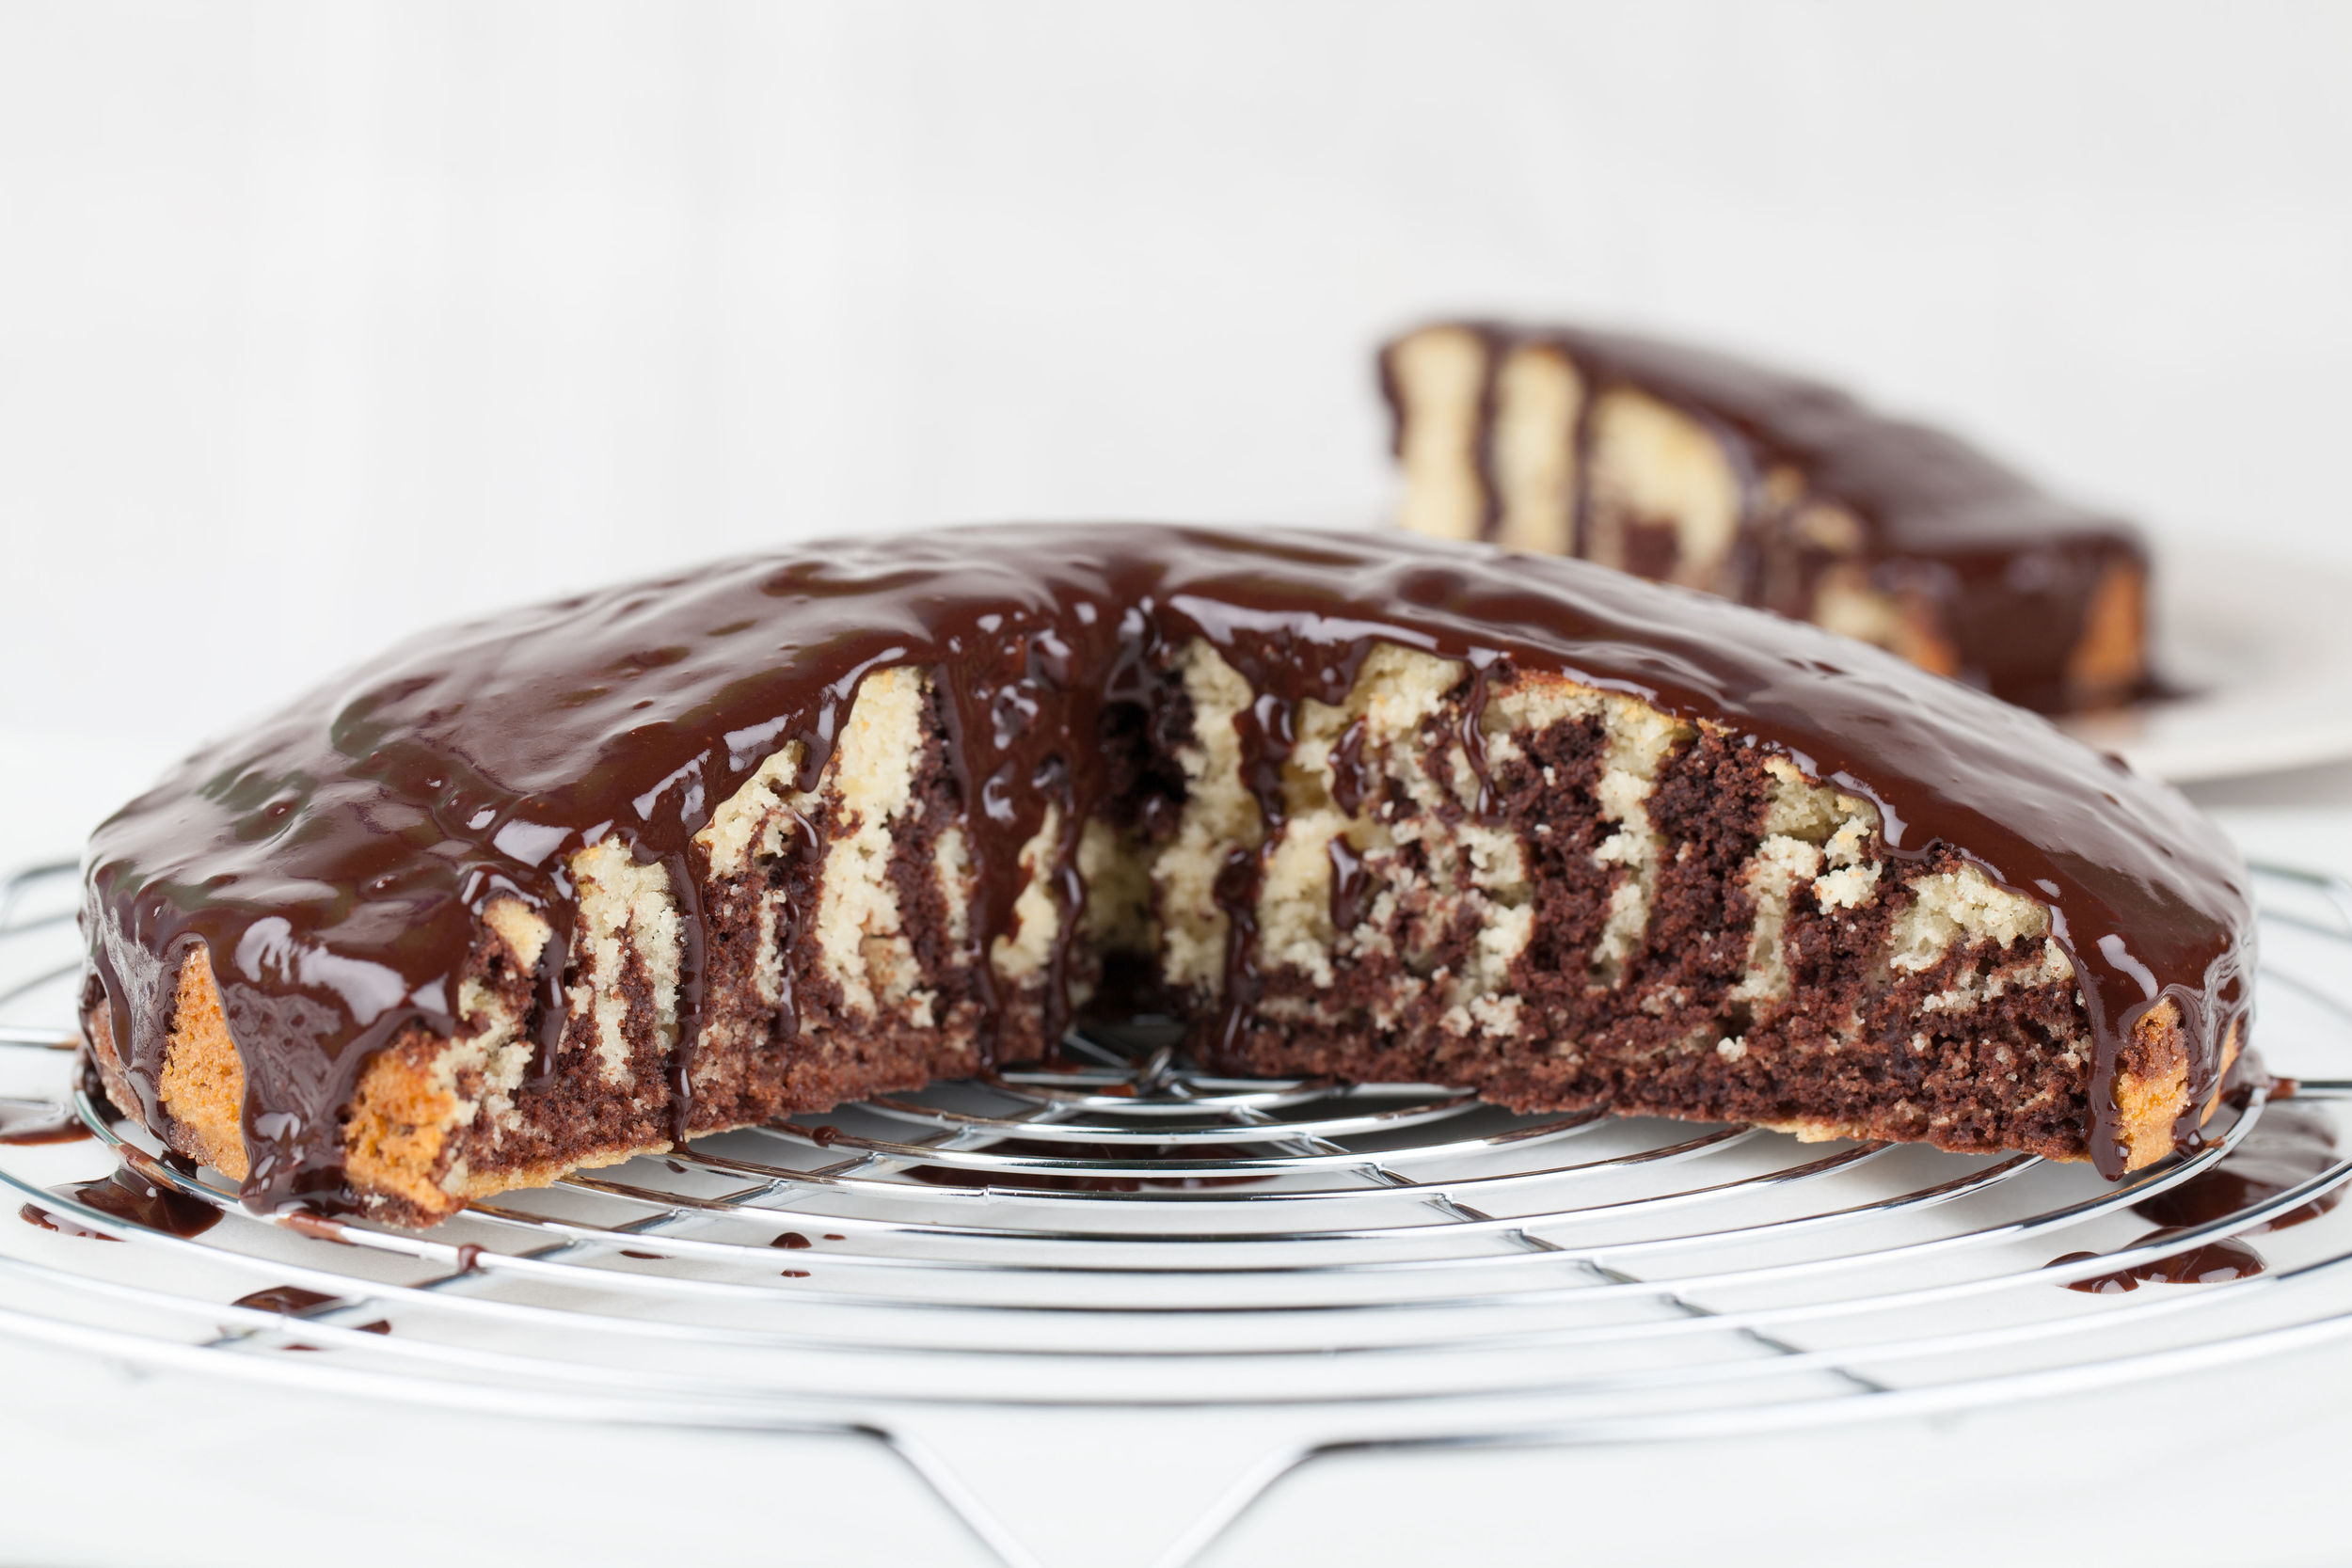
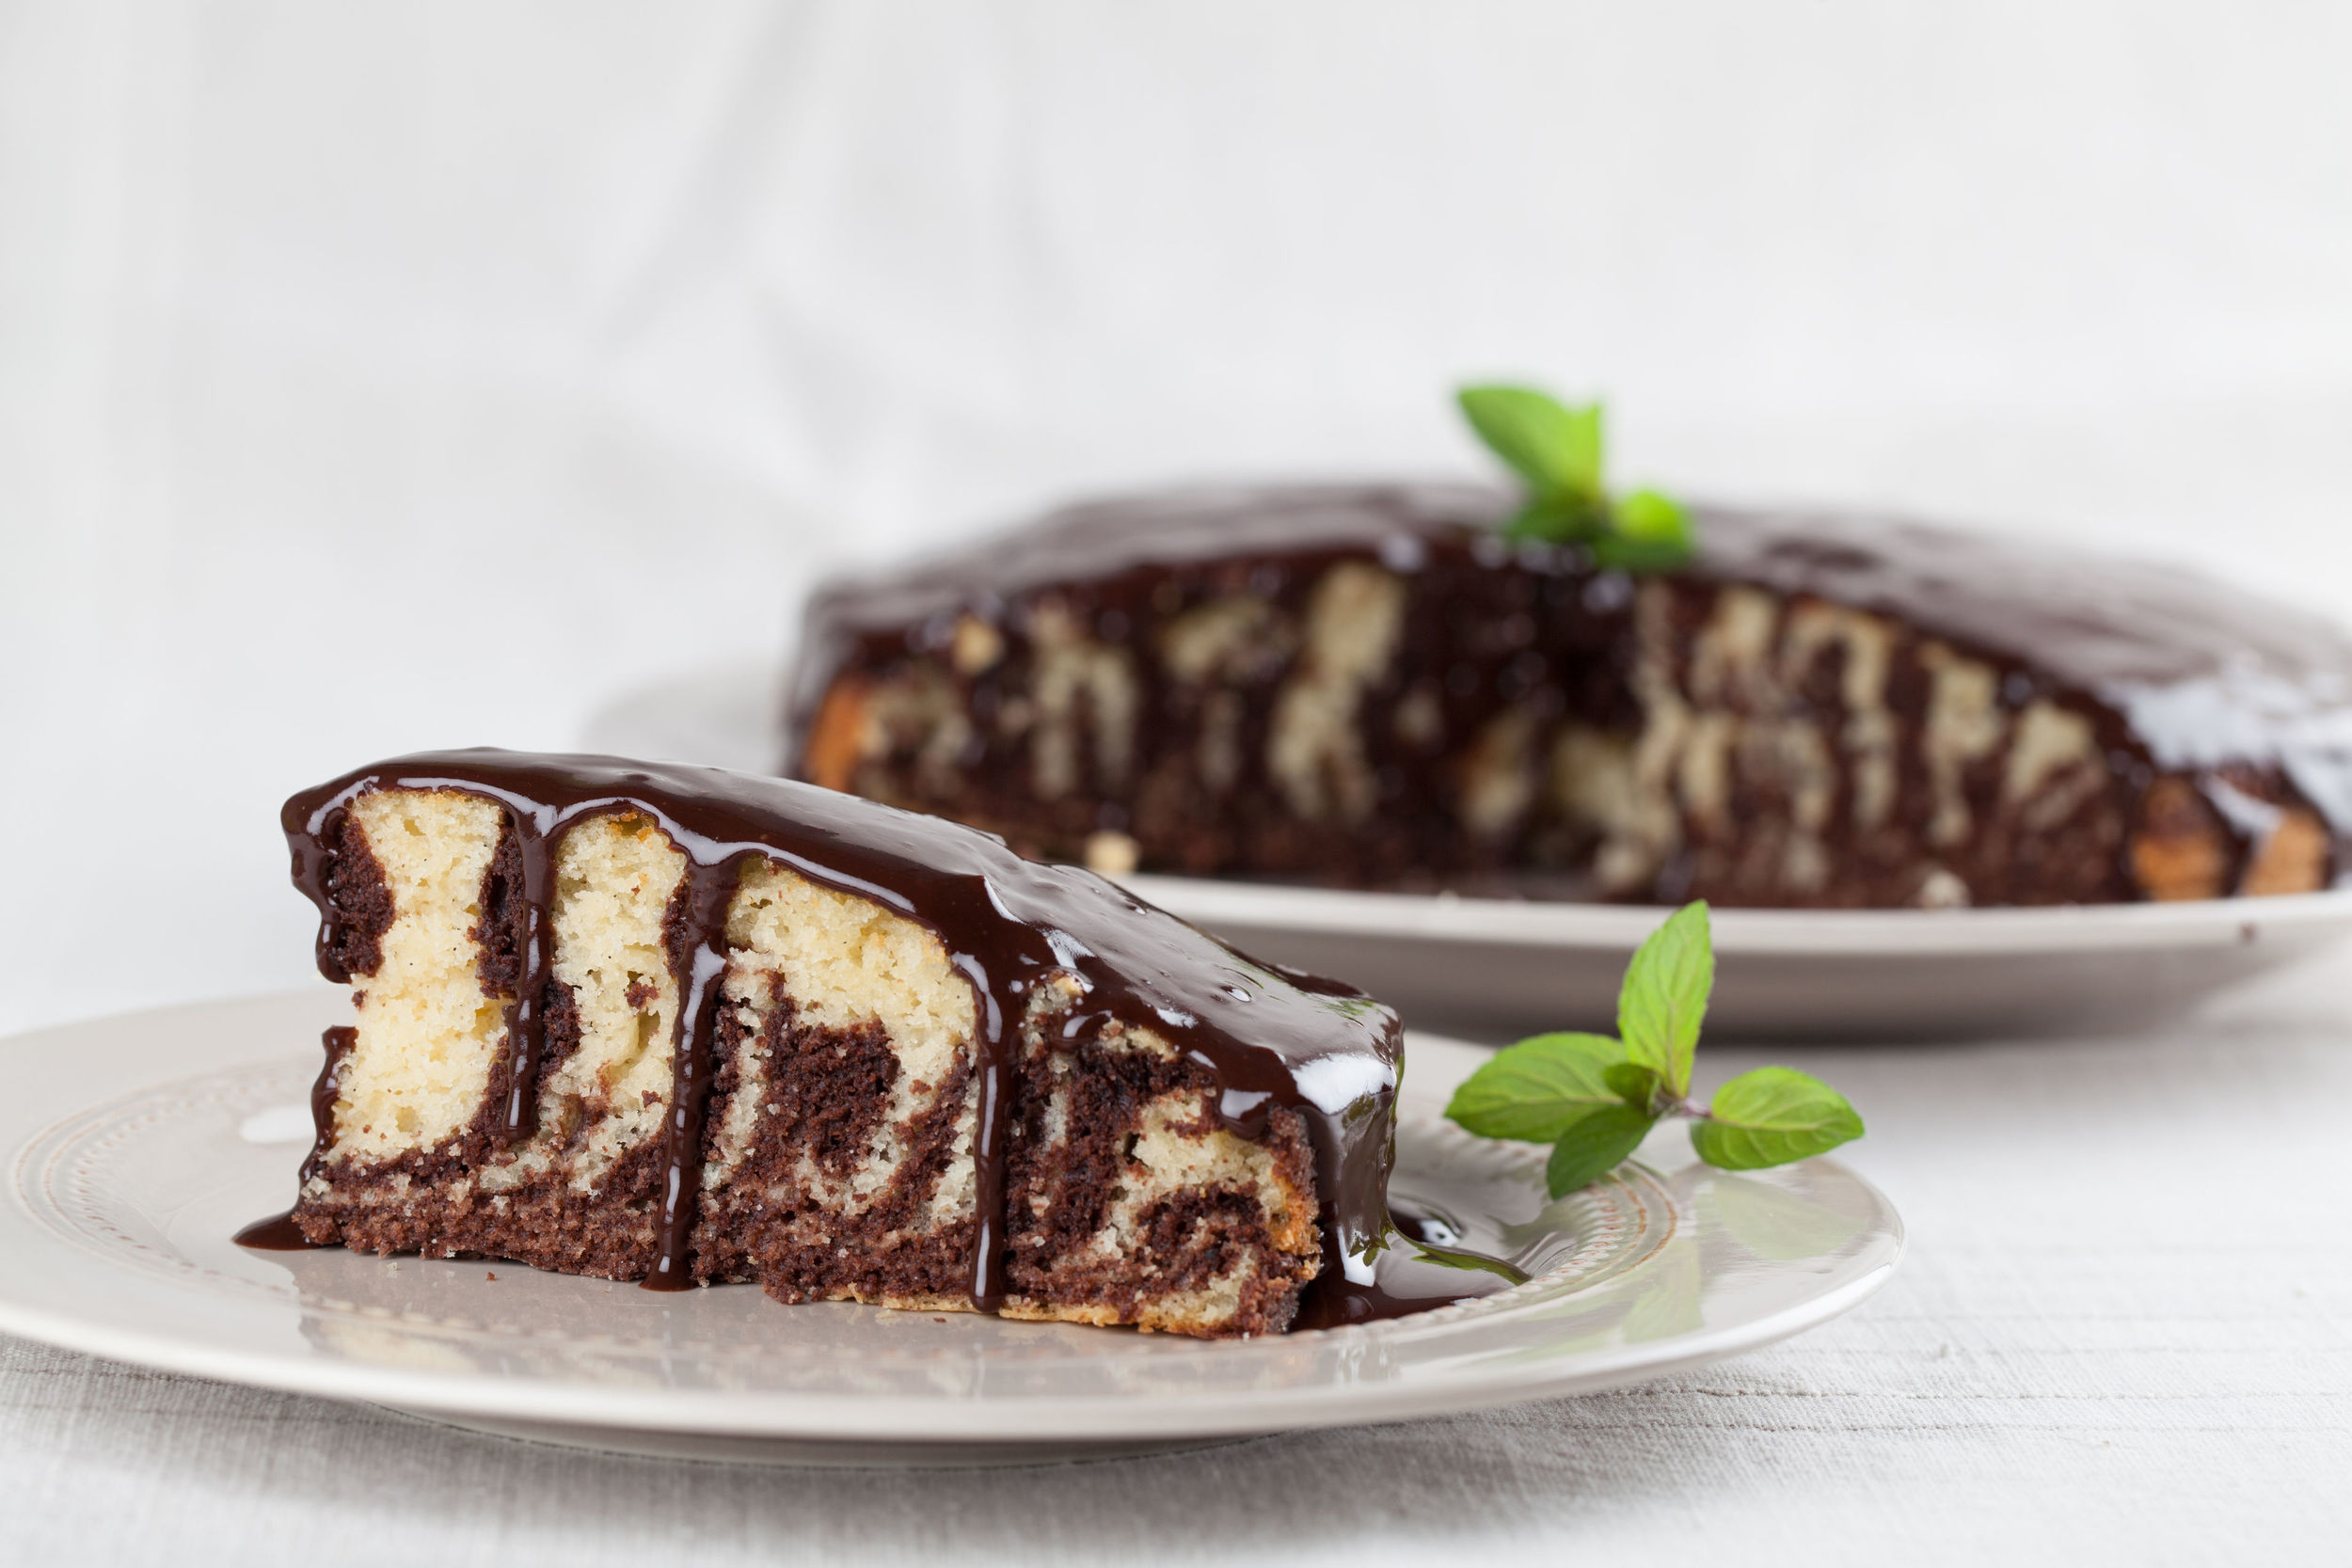
SOME MAY SAY THESE CAKES ARE A LITTLE DAGGY, BUT I LOVE THEM!
I love cutting in and seeing stripes and shapes, and they are so simple to make, sure a little messy but so easy. I love this recipe because it’s not a traditional marble cake, it’s a little bit fancy, and anything in a bundt tin has my name on it! So let’s get baking!
Ingredients
3 cups cake flour
2 teaspoons baking powder
1/2 teaspoon slat
2 1/2 cups granulated sugar, divided
1/2 cup natural cocoa powder
6 tablespoons water
1 1/2 cup unsalted butter melted and cooled
1 1/2 teaspoons vanilla extract
5 large eggs
1/2 cup milk
Method
Sift baking flour and salt into a bowl and set aside.
In a separate medium sized bowl ass in 1/2 cup of sugar, the cocoa powder and water and whisk until mixture is smooth. Set aside.
Place melted butter and sugar in a stand mixer bowl fitted with a paddle attachment. Beat on medium-high until mixture is blended for approx. 1min. Add in vanilla and beat until combined. Add and beat eggs one at a time, mixing well after each addition. Once all eggs are added beat mixture until it becomes light a fluffy.
Turn mixer speed down to low and add the flour in three additions, alternating with the milk in two additions and mixing just until blended.
Add two cups of the batter to the cocoa mixture and stir until blended.
Using an ice cream scoop, pour two scoops of vanilla mixture into the pan. Now alternate and pour one scoop of mixture on top of vanilla mixture. Continue to alternate between vanilla and chocolate layers until bundt pan is filled.
Bake pound cake for 50-60mins at 350 degrees or until a cake tester inserted into the centre comes out clean. Cool the cake in the pan on a wire rack for 15mins. Invert the cake onto the rake and cool completely.
To Make The Icing…
Place chocolate and cream in a pan over a low heat and stir until chocolate is melted. Set aside to cool for 10mins before using.
I love surprising guests with how their food is displayed, especially when it comes to creating a dessert that is so easy to recognise…!
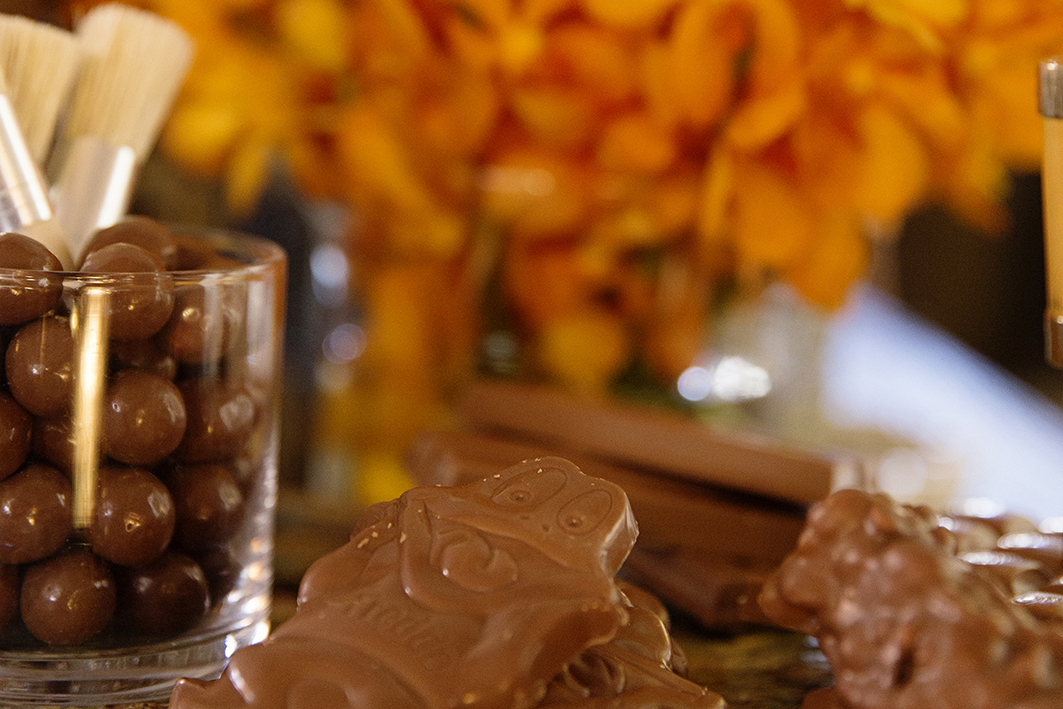
Sweet treats styled in fun artistic ways will always wow your guests. Simple decorative tools like swatches and palettes can be picked up from any hardware store and $2 shop, proving you don't always need to spend a lot of money on styling.
Now, although this palette of chocolate looks truly decadent, you don’t need to pay a fortune on expensive chocolates, using your everyday favourites look just as great unwrapped and stacked high. The presentation is key, and all these looks are so achievable when thinking outside the box. Just purchase a variety of your favourite chocolate bars, unwrap them and set them up artfully. Using cool cheese knives and glass to keep them organised, I think this looks fantastic on an old painters palette from my collection. This type of tray goes perfectly with your dessert wine a nice glass of red and is a chocolate lovers dream.